Having only dappled in pottery when I was 10 years old (enthusiastically might I add), it is worth saying that I was an absolute beginner when I started this mug! My childhood self-portrait project has done nothing but reassure people that art is not always perfect!
Now, over 13 years later, I have to admit I was a little daunted as I stared at a lump of clay with the promise that it would somehow become a mug. However, sure enough it happened, and it is that mug which I am drinking from whilst writing this post!
Choose what your mug will look like?
As any tea/coffee enthusiast will know, the shape of your mug is of utmost importance! Do you prefer straight or curved sides? A small of large mug? What design would you like, if any? This is the best part of making your own, it can be your ideal mug!
1) Roll out the clay
You want to roll out the clay so you have one big flat piece that is the same thickness throughout. Although a basic step, I found it really helpful to get a feel of the clay.
2) Cut out the sides and handle
This is the part where deciding if you want a straight or round edged matters. I chose a straight edged mug, so I cut out a rectangular shaped piece. All the spare pieces of clay need to be removed so all that's left is the shape you just cut out.
From the spare pieces, you cut a handle. Just a thin piece of clay a bit longer than the height of your mug (this allows you to curve the handle). Make sure to shape the handle so your fingers can get between the handle and the mug. Then leave it to dry before attaching (you can see in the picture that the handle piece has been left in a circular shape to help mould it).
3) Carve/print your design
Release your creative spirit! Get the discarded clay from when you cut your sides and experiment with carving and pressing tools into it. This part was really fun as I explored the tools and objects around me, searching for new textures and unusual patterns!
Eventually I settled on a wave design, with each wave imprinted with a different pattern (I couldn't settle on just one when there were so many exciting patterns to choose from!)
4) Slip and Score: Sides and Base
Slip and score is what turns pieces of clay into something that resembles a mug.
For the side, take your now patterned rectangular piece and scratch (or score) in a criss-cross, the two shortest sides, to make them rough. Apply the slip (this is very wet clay that applies like paint) to these scored areas. Push both of these edges together until the slip oozes out of the joining, this means you've pressed it enough. Next, you want to smooth the clay using either your finger, a sponge or a wooden tool, until it appears seamless. Whilst you do this, support the other side with your hand, which will stop the mug from becoming misshapen. This is also a great time to smooth out any other surface cracks that may have appeared too.
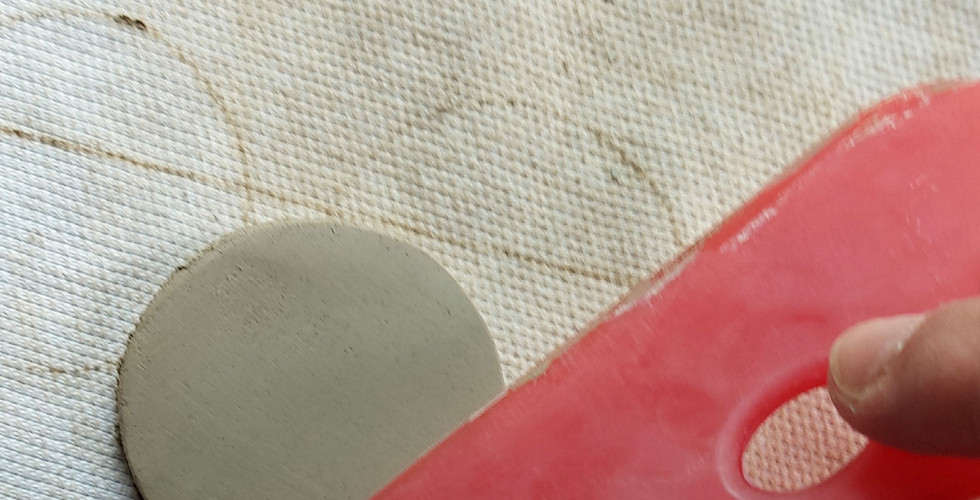
For the base, place your recently joined side piece onto some of the rolled clay, and cut around the sides to make a circle. To attach the base, you'll repeat the above slip and score technique, but this time with the base circle and the side cylinder.
5) Put the handle on
The handle was quite tricky for me as it's a bit more of a delicate task.
By this point the handle should have dried out a little bit, making it easier to work with as it holds its shape more. Repeat the same slip and score method as before, bearing in mind that the smaller surface area makes it a bit trickier to work with! A tip I learnt was to add small pieces of clay to the join which really helped in smoothing the area out too.
6) Finishing touches
Voila! There should be something resembling a mug in front of you! Now all you have to do is to literally smooth out any rough edges (like the rim of the mug- you want your cuppa to be comforting, not a danger zone!)
With all of the handling some of your design may have got smudged. This is now the perfect time to fix this, as well as any other blemishes you don't want!
Personally, I'd really recommend making a slab mug to absolutely anyone! I fell in love with how forgiving clay can be. I made so many mistakes during the process, and most of the time it was a case of patch it up with more clay or just smooth it over. And let's face it, who doesn't enjoy using something that they've made themselves, as it gives such a great sense of achievement!


Comentarios